When I first went to see the house I just fell in love with this room. Obviously not in the state that it was in (not a big fan of granny chic). I saw past the peach walls, the horrid fireplace and the mahogany on every inch of skirting and picture rails. It had so much light in this room, a perfect backdrop for any colour.
BEFORE
So, the all-important estate agent picture; the before! Here it is in all its peach glory.
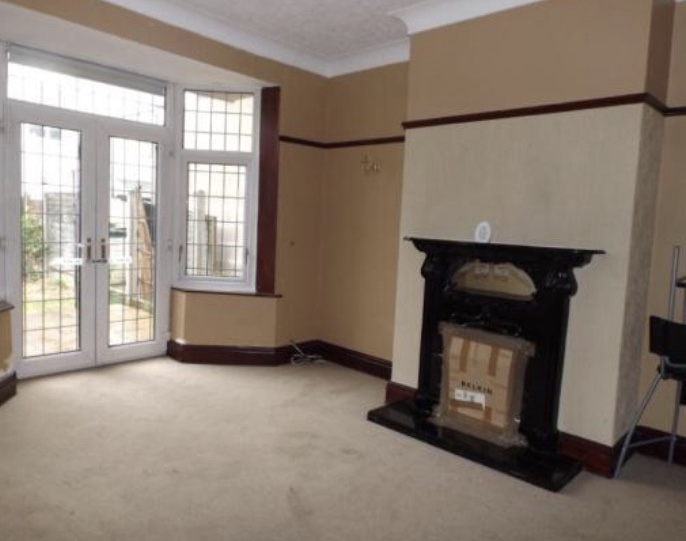
So as we can see, this room has great bones and has great potential in becoming a beautiful room, it just needed a little help to get there.
INSPIRATION
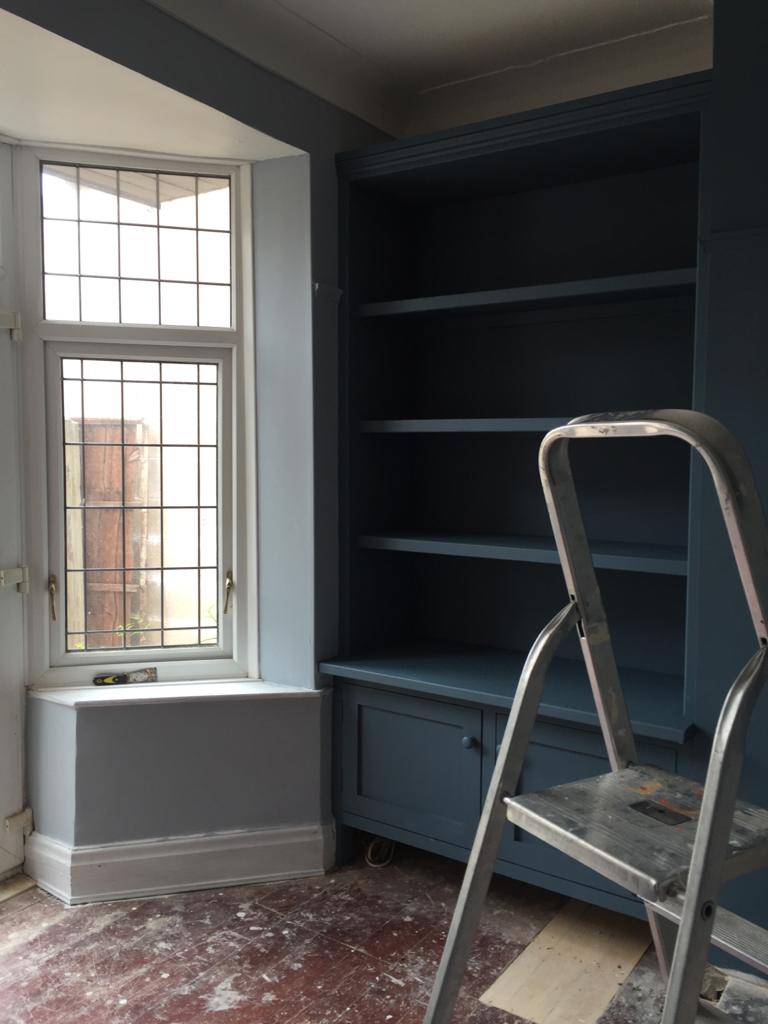
I always knew I wanted bookshelves. This room was the perfect place for them. So, the idea was to have them on both sides of the alcoves and make use of that wasted space. I wanted them to look as though they’d been there forever and had always been part of the room. I needed a good joiner and the perfect image to show what kind of thing I was after. That was it, I was on Pinterest for hours searching for that perfect example.
We were really happy (well me more than Mr.R) that he found a joiner who was very experienced and ‘old school’ (they just don’t make them like they used to). He came down and I explained what I wanted:
“Don’t worry I can make it look like it’s always been there.” Music to my ears, to which I replied,
“perfect, when can you start?”
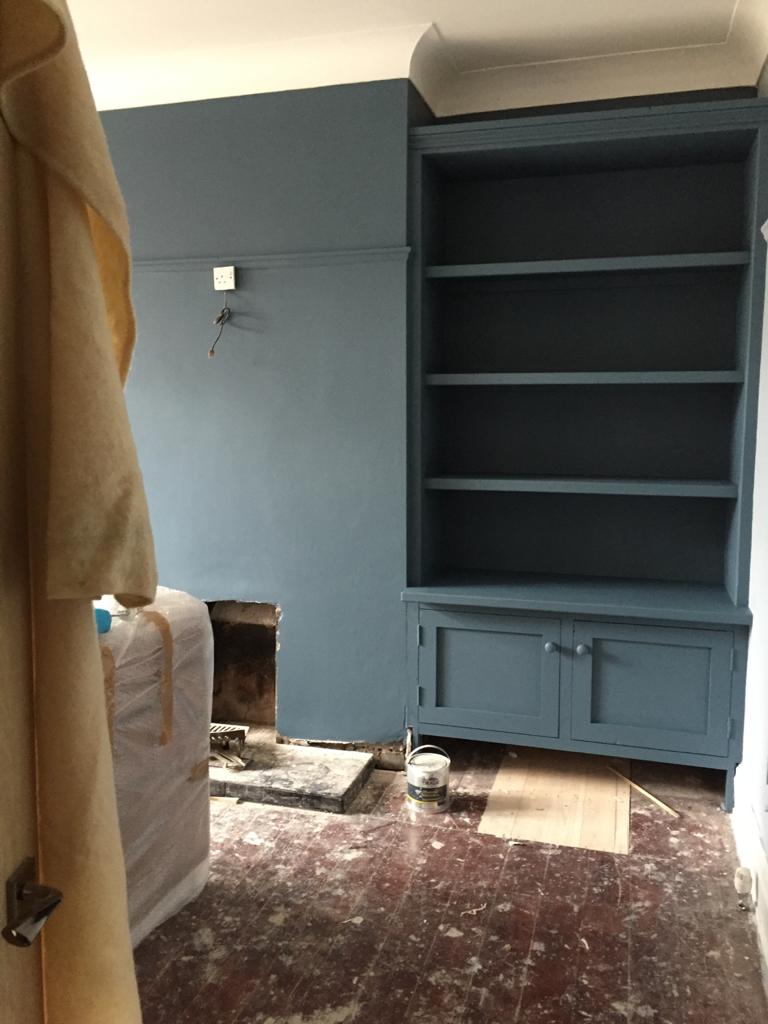
Here are some progress pics.
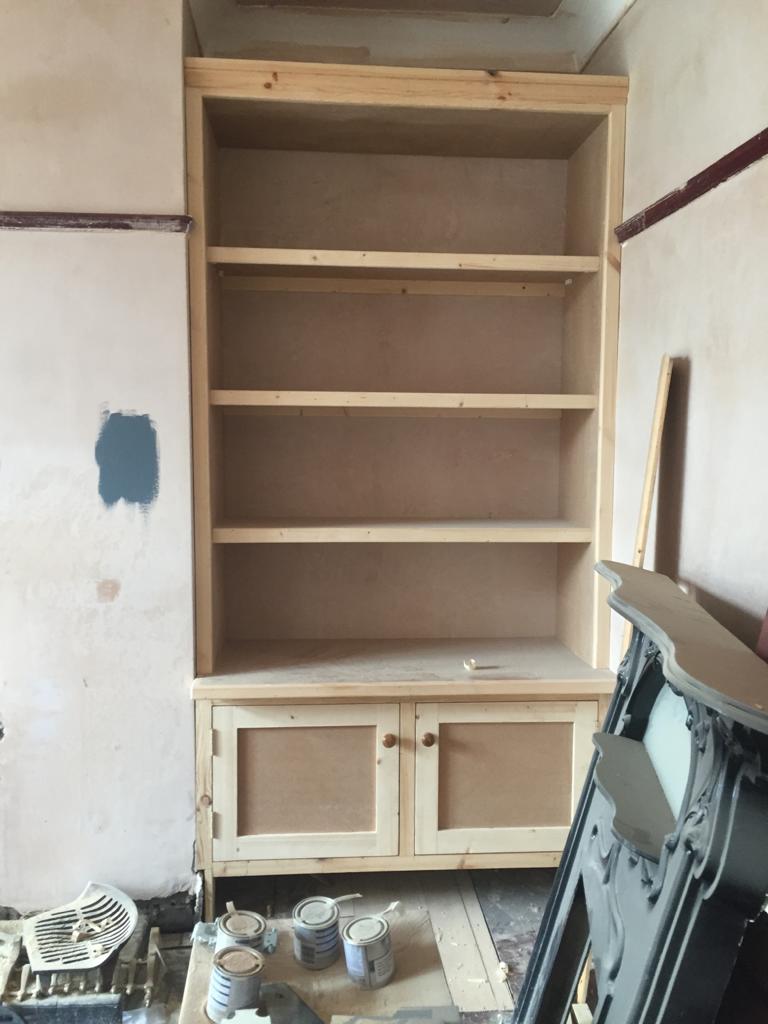
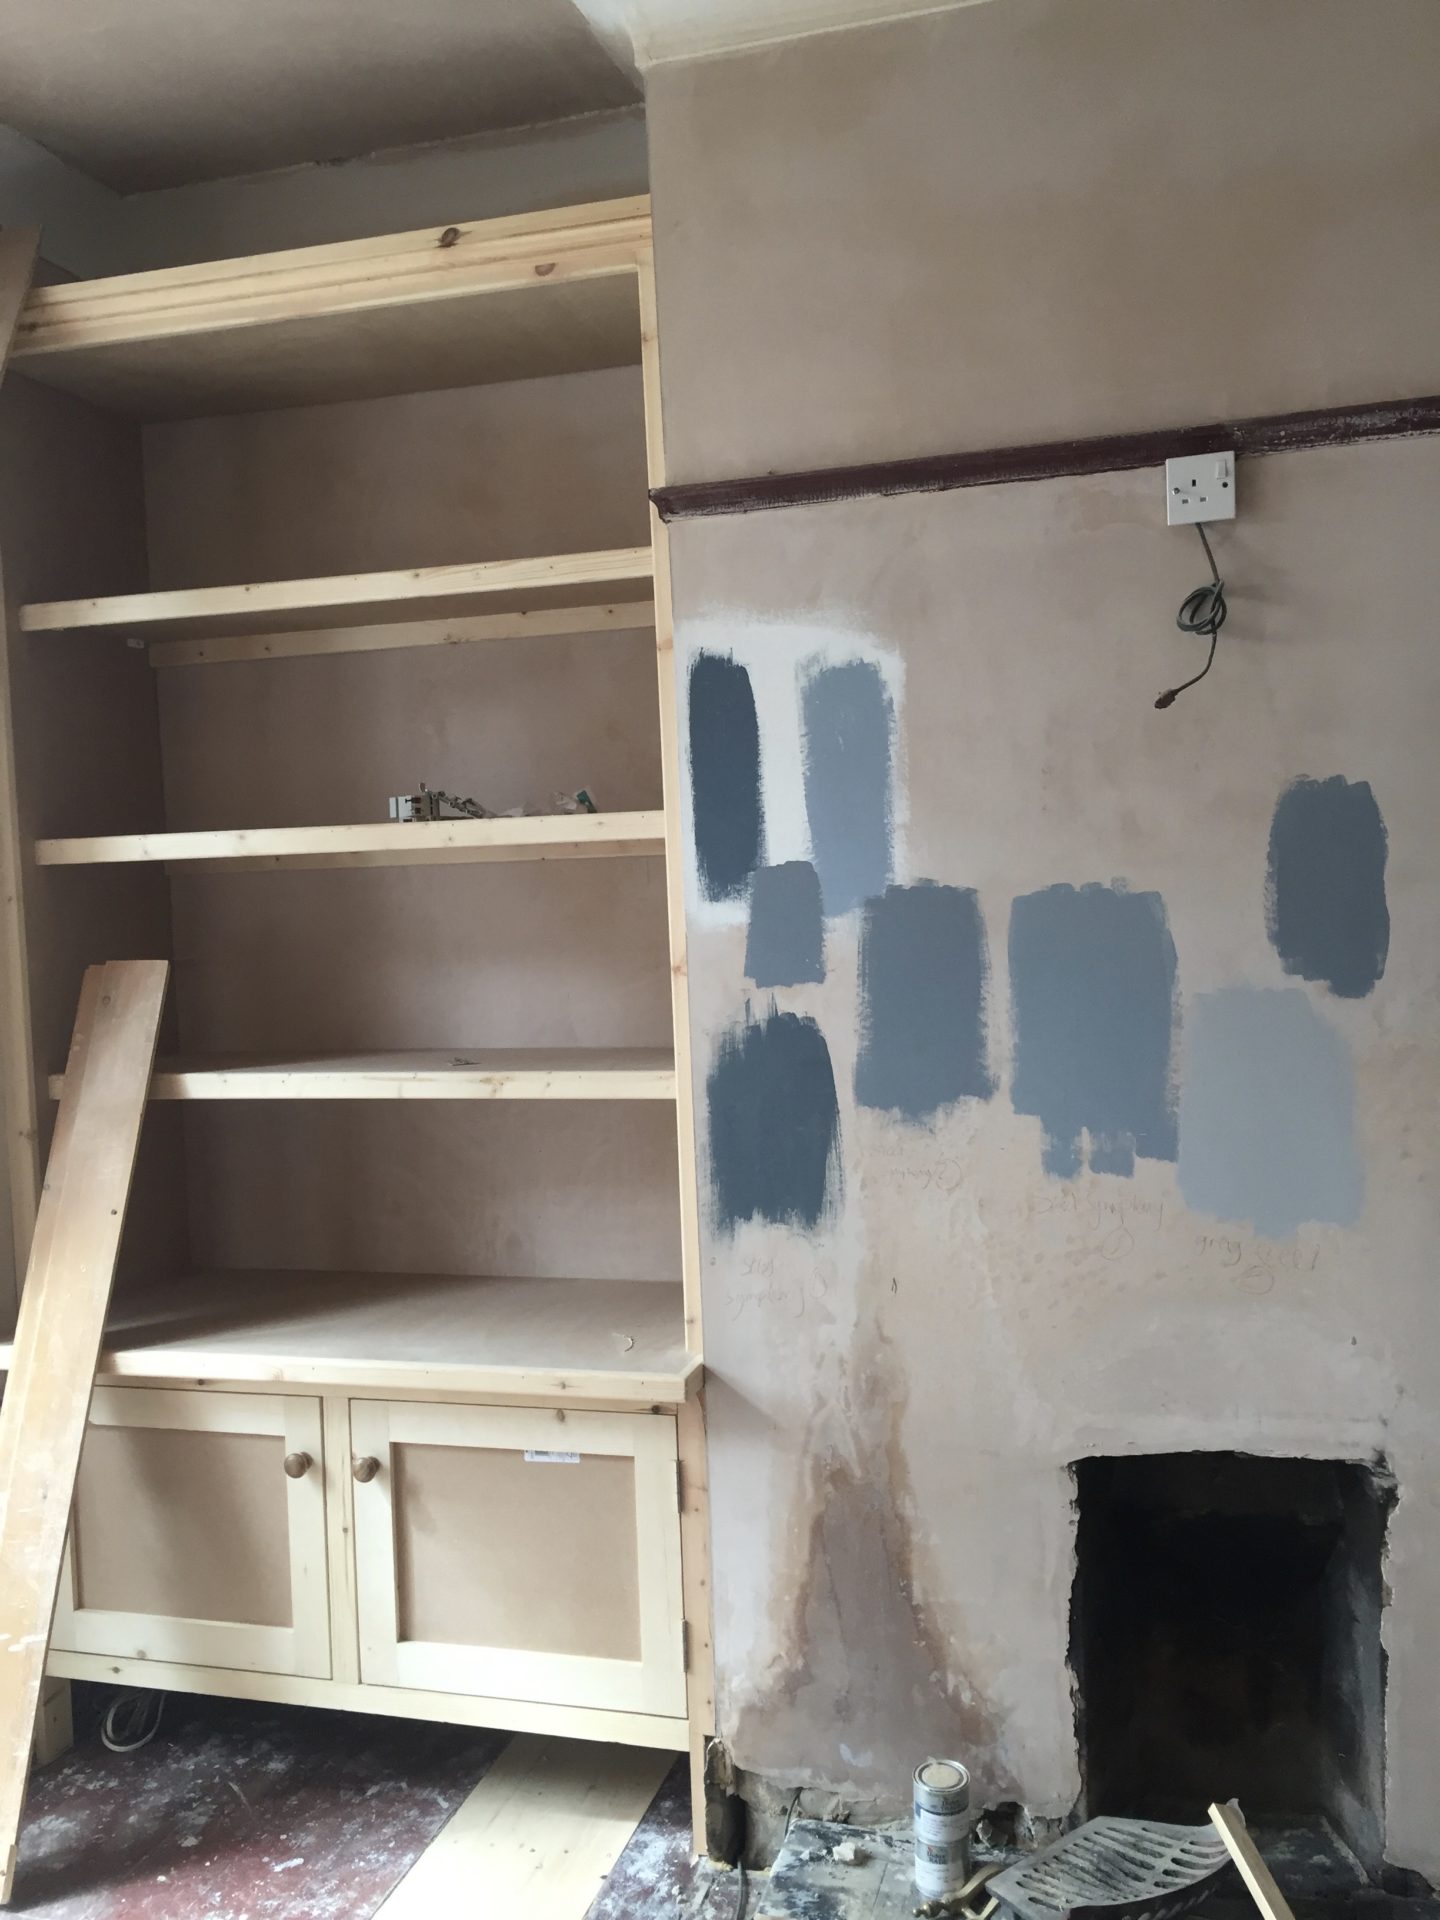
Once the shelving was getting built it was the all-important decision of painting. I found some landscape canvases that I knew I had to have. I used them as my base for the colour scheme. I went through many tester pots. I just knew I wanted to go dark on the walls and the bookshelves to really make them stand out. After a lot of tester pots I finally decided to go for steel Symphony 1 from Dulux for the main walls and steel symphony 4 for the remaining four walls.
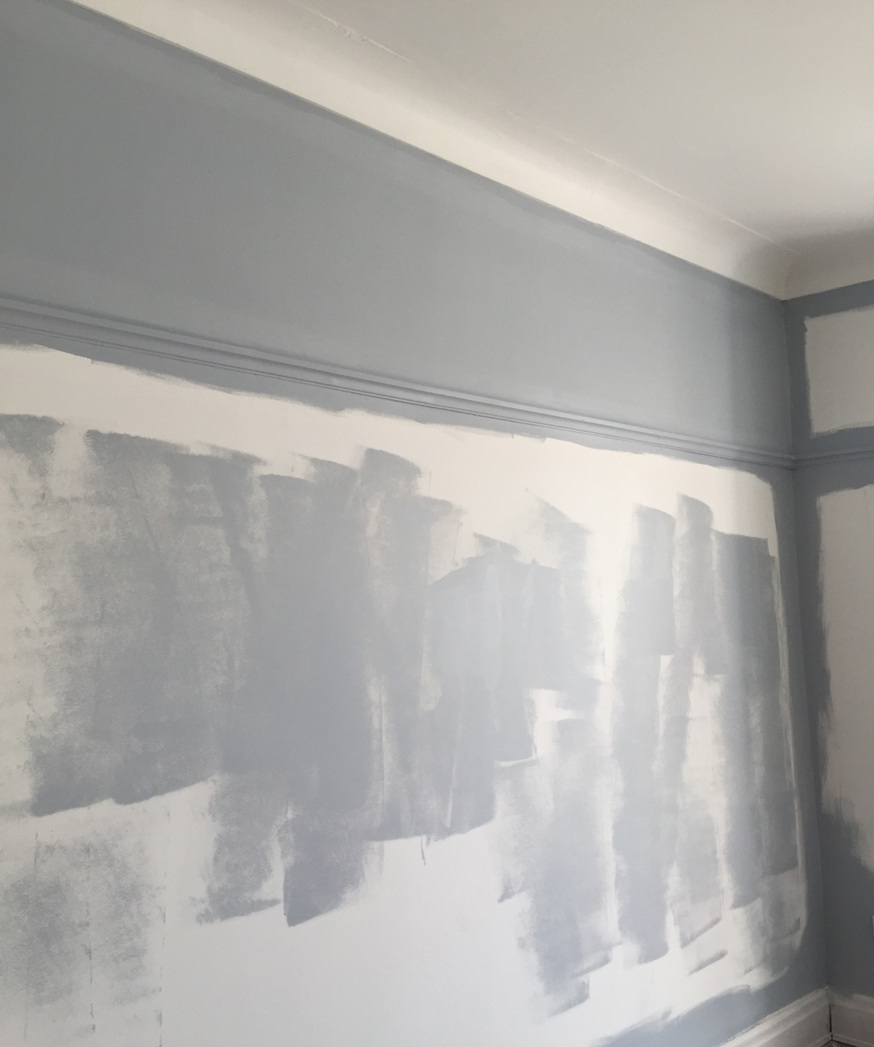
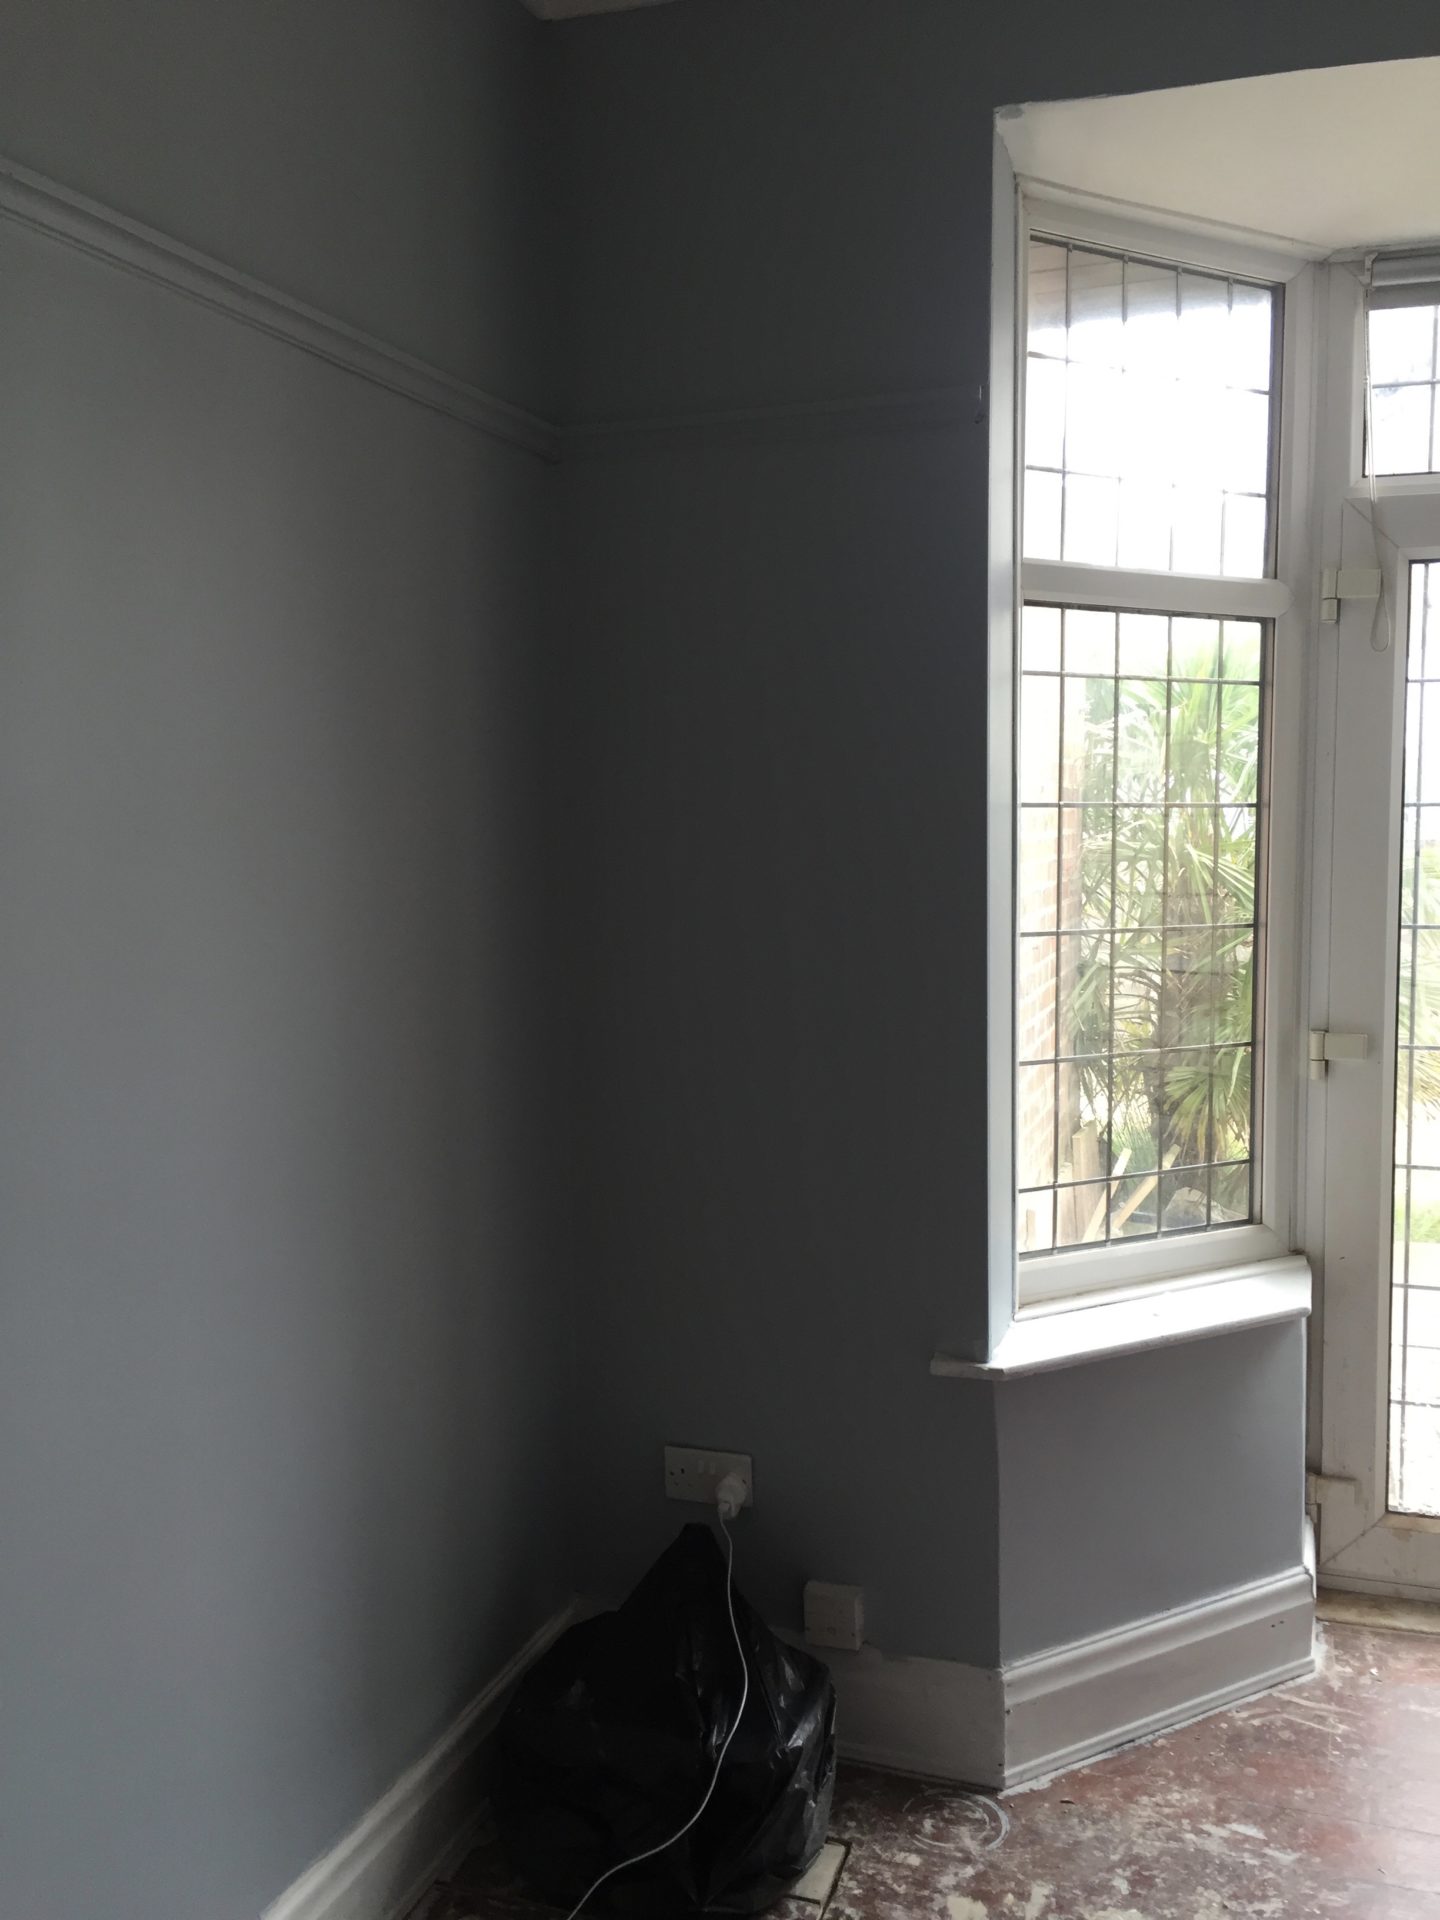
Once painted we were on the search for the perfect fireplace. I really wanted a stove but when we purchased the house we were told it was not possible due to regulations for the area. Really annoying right?! Plan no 2, I wanted a tiled fireplace, searched high and low but nothing I fancied. Then MR. R showed me this. Had to have it- ordered! Wanted a nice mirror above the fireplace but Mr R was insistent on having the TV on the wall (I let him have this one)
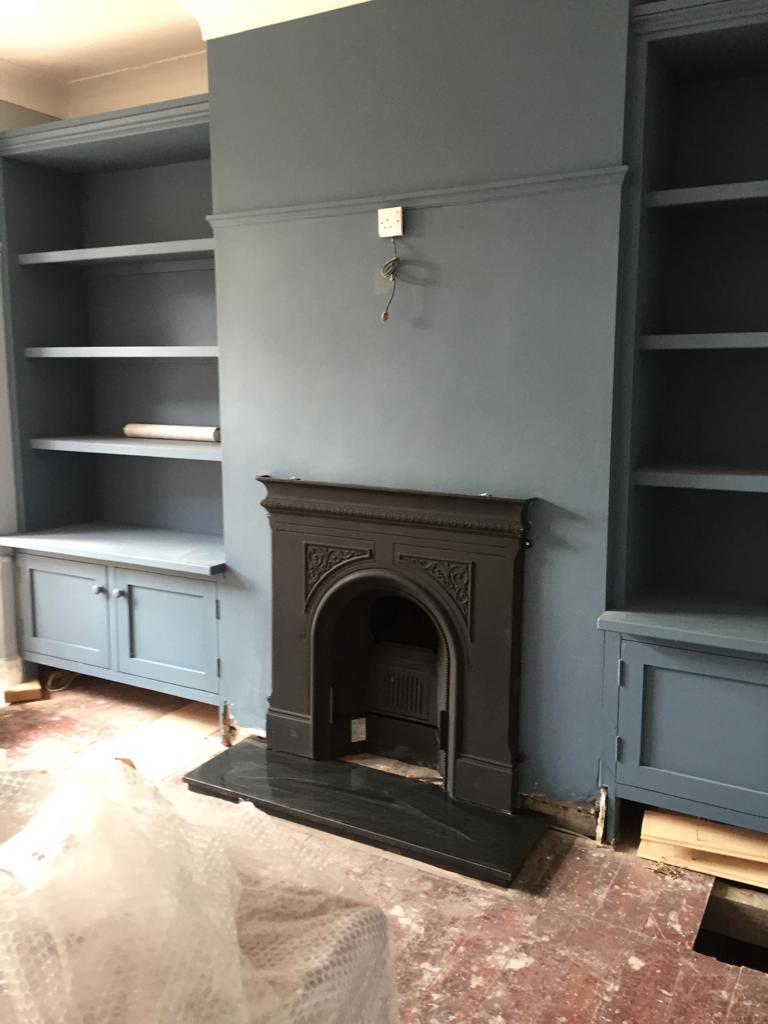
Mr.R was insistent on carpet in this room, that man loves his carpet! I needed the carpet to sit nicely with the wall colours. I ended up going for a very pale grey to compliment the walls.
My sister ordered her sofas from ‘sofas and stuff’. I loved the mid-century vibe so when we were on the search for ours it was the first place we went. Luckily, they had an offer on too so it worked out well. As mentioned earlier, I wanted to bring out the colours from the painting I purchased, so when I saw the garnet armchair in sofas and stuff I knew I had to have it knowing it would fit perfectly in this room.
Here is an image of the finished room. Hope you like it. If you have any questions please put in the comments below.
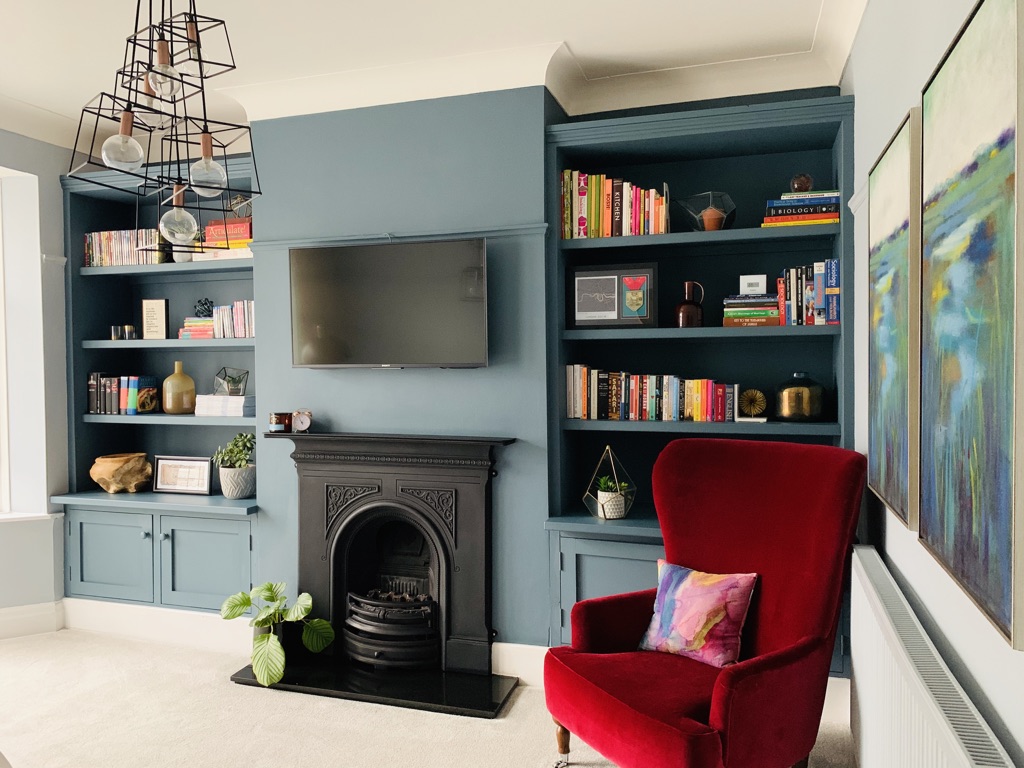

Lovely to hear the story behind the finished design. And the built in units really look like they were always there !
Author
Thank you so much Linda. My joiner really made my vision come true.
Great article, lovely read, can’t wait to see more of your blogs
Author
Thank you so much 🙂
This is so great! As a DIY novice can I ask what you used/did to prime and paint the units? We have a similar project in mind and I would love for the woodwork to look as though “it’s always been there” as you say. You’ve all done such a wonderful job!
Author
Hi Robyn, thank you so much. Glad you like it. We had a painter in. He used a primer and then painted using Dulux diamond Matt paint in the colour we wanted. It’s a very durable paint which we have used in the rest of the house too. It’s brilliant especially with little ones as it’s wipeable. I can’t remember what primer he used but I recently had a painter do my daughter’s bedroom on the original pine wardrobes and he used Zinseer Bin 123 as the primer. Good luck with yours 🙂