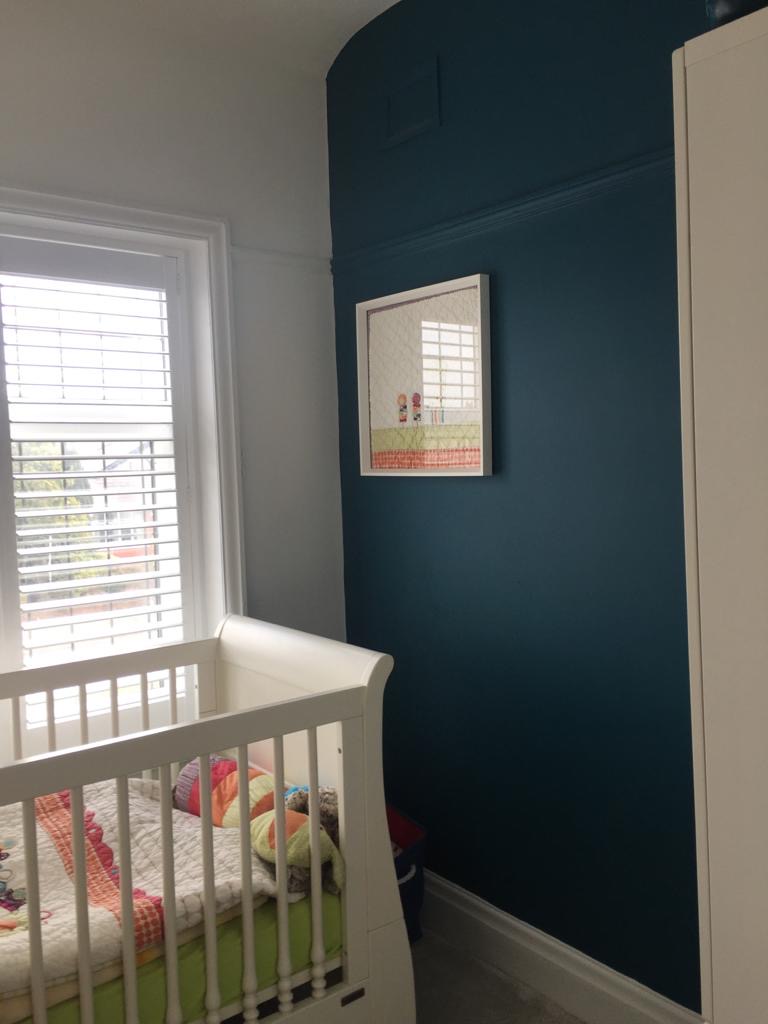
When Ciara from @tinytoucan got in touch with me to ask if I would like to have some of her prints in my home I was super chuffed! I wanted to do her prints justice and all I had was a plain boring white wall for them to go on. There was already a gorgeous teal blue wall on the opposite side so I had a light bulb moment and thought why not try a scalloped wall. Instead of introducing another colour I just continued the same teal blue all the way round the room. I just recently had my six year old’s room painted pink so decided not to go for pink and girly because thankfully, a 1 year old doesn’t have opinions. That and the fact that I had loads of teal paint left over- money saved!
Here is an image of what the room looked like before.
So, to begin with I needed to decide how far I wanted the colour to go up. This being the smallest room in the house and the ceiling sort of arches at the top I didn’t follow the third rule up. Instead I decided to go just slightly higher than her cot.
I measured this to be around 110cm however, this room has wonky walls. The lines I drew did not match up, so with a bit of trial and error I used my ruler against the spirit level until I got it as straight as possible. I placed masking tape above the line I drew to get that straight, even finish.
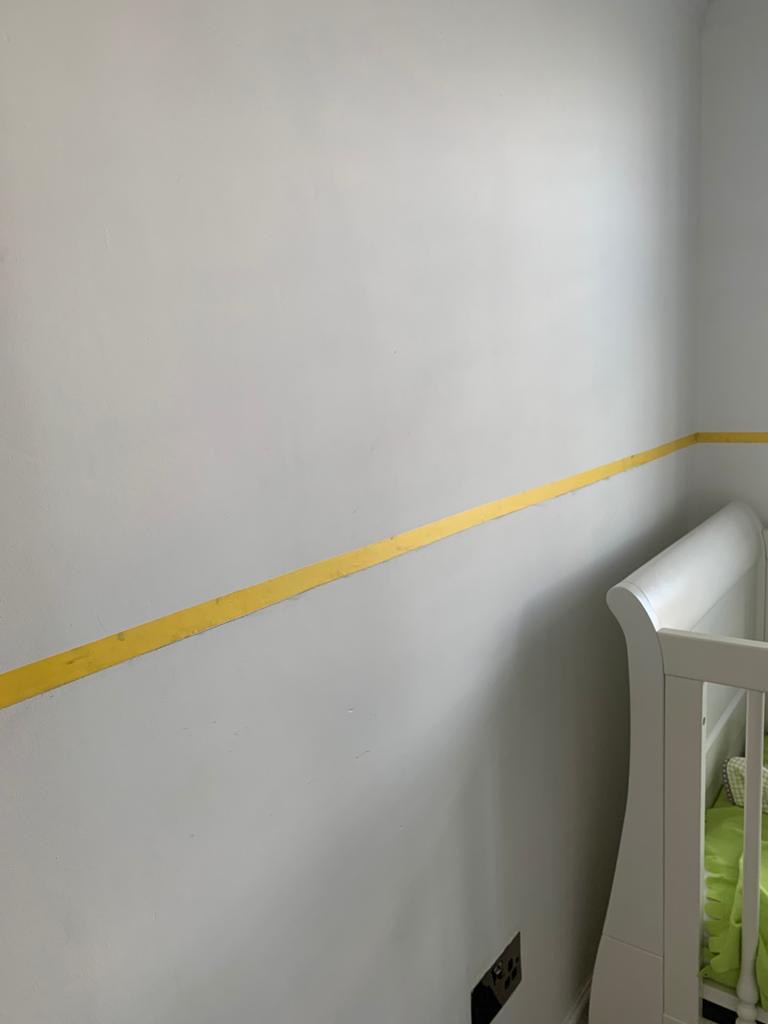
I needed two coats using a brush and a roller. Once I finished doing the second coat and it was semi dry I removed the masking tape. I actually liked how it looked but felt the scalloping would just give it that edge.
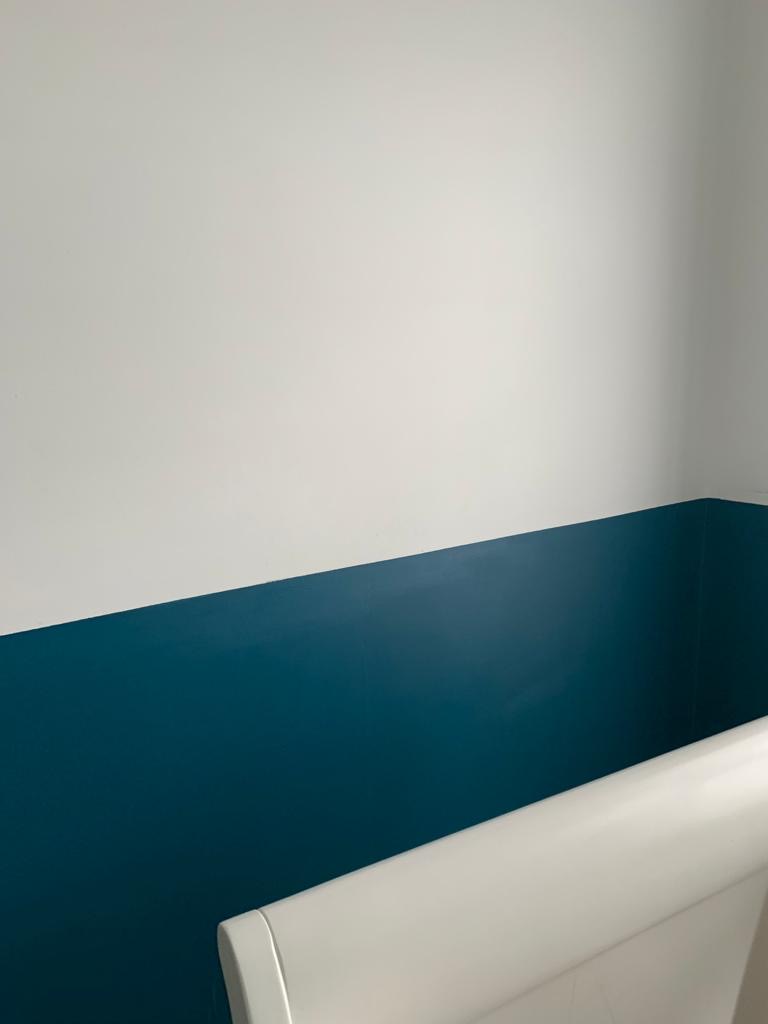
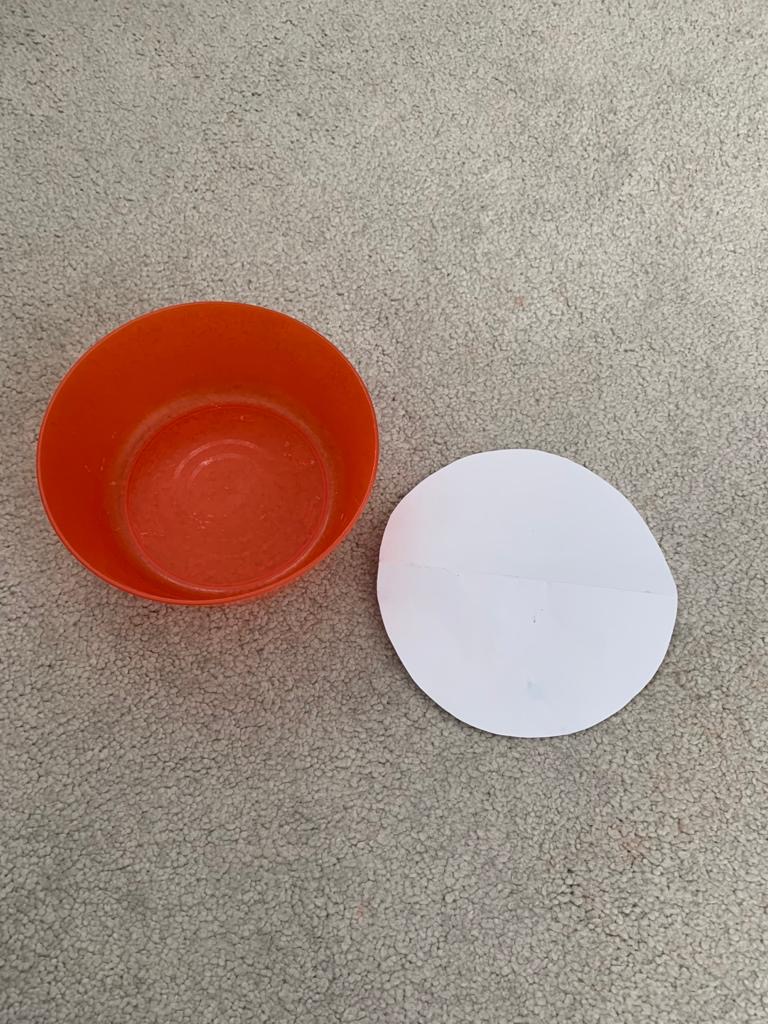
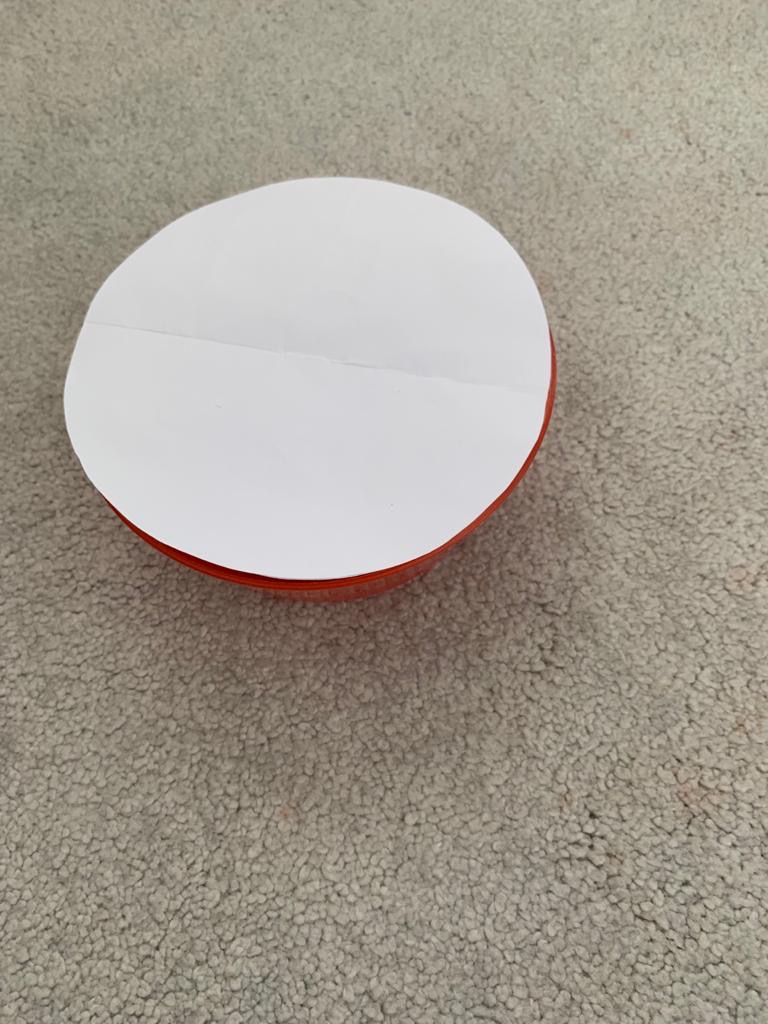
Now the best part the scallop. Bit of trial and error with this. I went hunting for round objects. Grabbed my little boys snack bowl and an empty plant pot. I then drew around both on paper, cut it out and folded each in half. I placed on the wall with blue tack to see which I preferred. The next step was to check how it would finish on a shorter wall but I wasn’t satisfied with either. Ended up using a smaller snack bowl, which looked much better where the walls met in the corner. This size was definitely the one!
Now that I was happy with it I needed to make sure it would work all the way round the room. I drew around the bowl and cut a paper template. I then folded the paper template in half, opened it up and placed this on top of the bowl marking the bowl on each side to establish the exact halfway point (diameter) of the bowl. I used the bowl on the wall to draw the scallops however where the walls met I used the paper template.
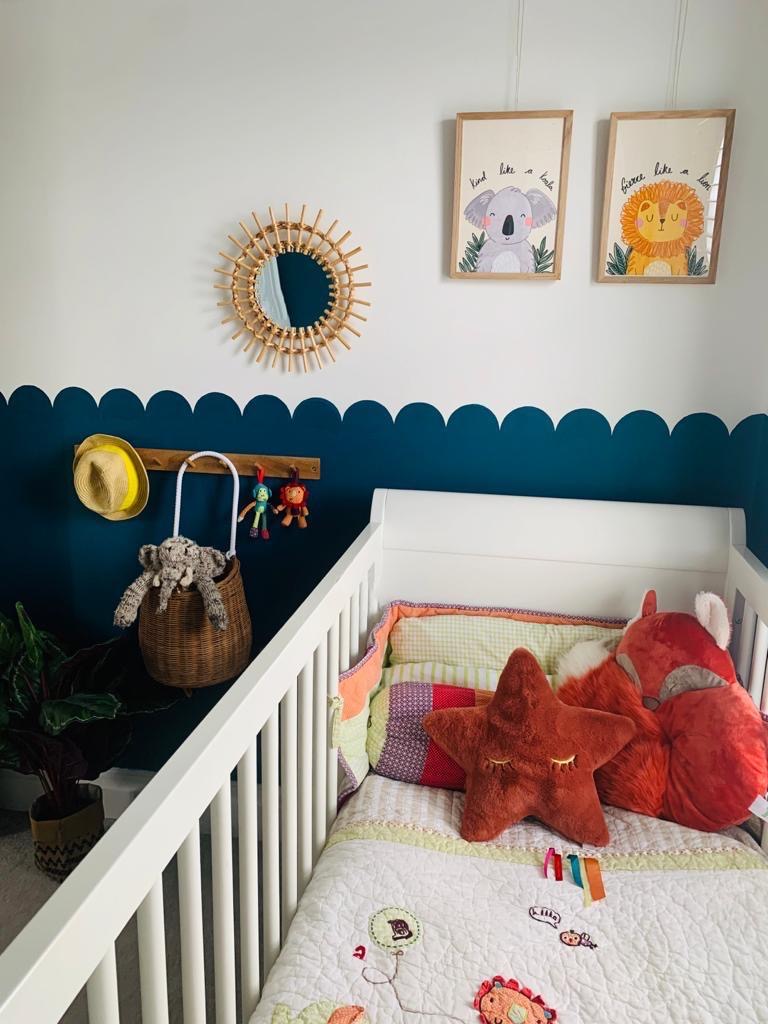
Once the scallops were drawn I needed to paint the edges. So, I used a small brush for the middle part and used a small artist brush for the edging and slowly followed around the line. I did two coats on the scallops too.
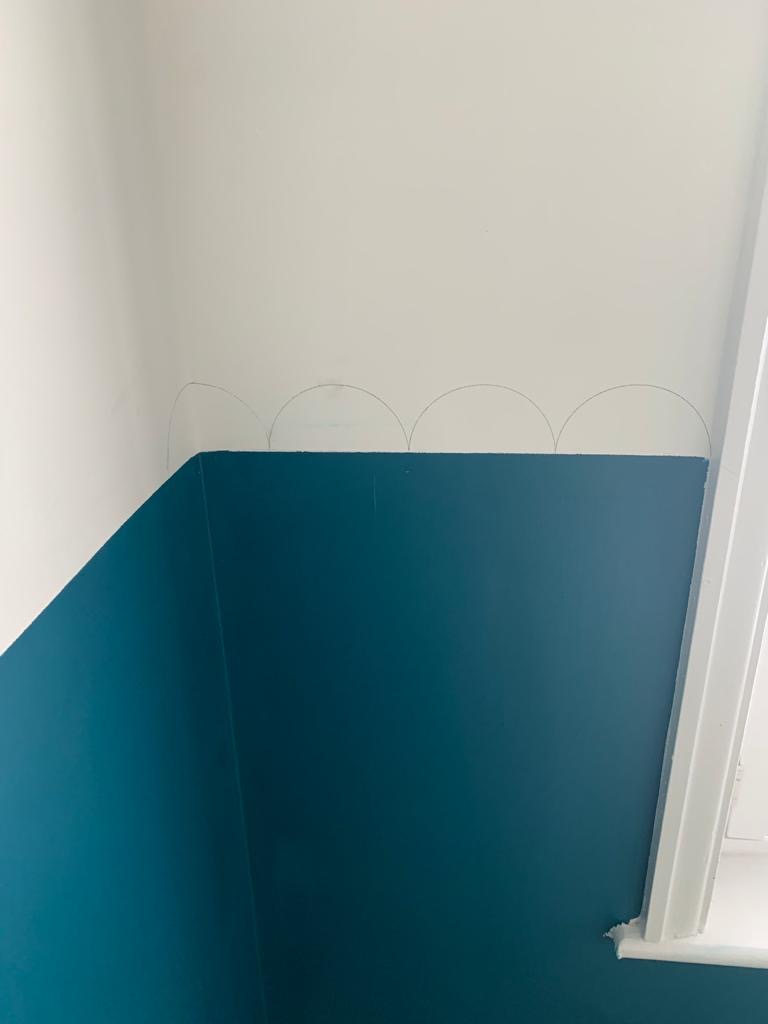
So here is the end result. I’m really pleased with how it turned out. Hope this was useful. If you have any questions just pop them in the comments below.

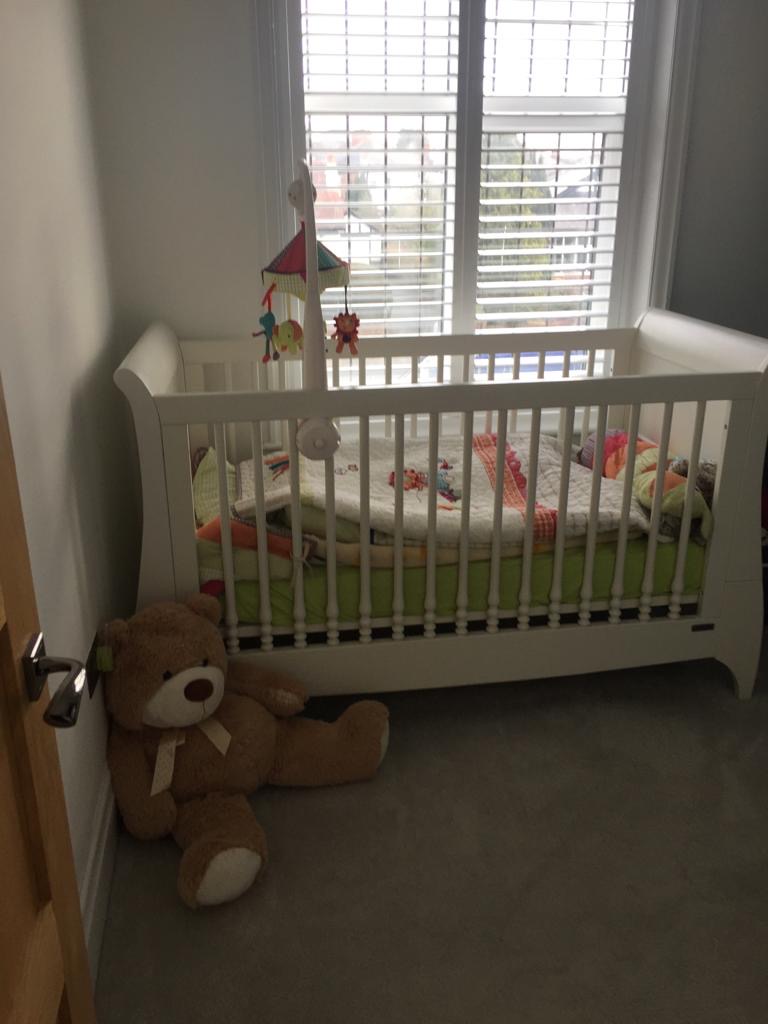
So beautiful and to use a bowl,awesome I’m going to give it a go, I share a room with my daughter but going to do it in her corner or the room around d the cot.
Thanks, Kate @homewithkatelillian 😃
Author
Thanks Kate. That’s great, sounds like a plan. Let me know how it goes. If you have any questions along the way, will be happy to help 🙂